


TL;DR:
- Matching extension colors requires assessing mid-lengths and ends in natural light using physical swatches for the best blend. Blending two or three shades and considering undertones help replicate natural hair dimension and create a seamless look. Testing colours after styling ensures an accurate match that remains natural in various lighting conditions.
Hair extension colour matching is the process of selecting extension shades that blend invisibly into your natural hair by focusing on natural light assessment and multi-tonal swatch combinations. The most effective ways to match extension colour rely on reading your mid-lengths and ends, not your roots, and using physical colour swatches in daylight. Physical colour ring matching in natural daylight achieves up to a 95% undetectable blend success rate. That figure tells you everything about why professional tools and technique matter far more than guesswork.
1. Why matching mid-lengths and ends beats matching roots
Matching to your roots is the single most common mistake in colour matching extensions. Roots are often darker due to natural regrowth, previous dye, or shadow from the scalp. They do not represent the colour other people actually see when they look at your hair.
The visual blend zone sits at your mid-lengths and ends. This is where your extensions will sit alongside your natural hair and where any mismatch becomes obvious. Matching mid-lengths and ends rather than roots yields more natural blends and reduces visible extension lines. Pull a section of your hair away from your head and hold it at arm’s length. The colour you see there is the colour your extensions need to match.
Pro Tip: Hold your hair in natural daylight, not bathroom lighting, before assessing the shade. Indoor bulbs add yellow or orange casts that distort your true colour.
2. Use multiple swatches to create a multi-tonal blend
Natural human hair is rarely one flat, uniform shade. It contains subtle shifts in tone from root to tip, and those shifts are what make hair look real. A single extension shade cannot replicate that dimension on its own.

Using two or three extension shades allows you to create custom, multi-tonal blends that better replicate natural hair’s tonal shifts and prevent a flat or artificial look. Relying on a single swatch causes a 42% failure rate when matching dimensional styles like balayage or highlighted hair. That failure rate drops sharply when you layer two or three complementary shades.
Here is how to build a multi-tonal blend:
- Choose a base shade that matches your mid-lengths most closely.
- Select a secondary shade one level lighter to mimic natural brightness at the ends.
- Add a third shade if your hair has visible highlights or a colour melt effect.
- Fan the swatches together and hold them against your mid-lengths in daylight.
- Assess the combined effect, not each swatch individually.
Pro Tip: When blending shades, always consider undertone. Warm undertones (golden, copper) clash with cool undertones (ash, platinum). Match warm to warm and cool to cool for the most natural result.
3. The role of physical colour rings and natural daylight
Digital photos and screens alter hair colour perception significantly. Artificial lighting, whether fluorescent office lights or warm bathroom bulbs, shifts the way colour reads to the eye. Neither is reliable for choosing the right extension shade.
Physical colour rings solve this problem. They give you a tangible swatch to hold directly against your hair in real light. Fanning swatches and testing placement mentally before ordering increases colour matching accuracy and helps you simulate how shades will diffuse across extension rows.
Follow this method when using a physical colour ring:
- Step outside or stand near a large window in natural daylight.
- Separate a section of your hair at mid-length and hold it flat.
- Fan two or three swatches from the colour ring against that section.
- Assess the blend from a distance of roughly 30 centimetres, not up close.
- Cross-check the same swatches against your ends.
- Confirm the undertone reads consistently across both zones.
Key points to keep in mind:
- Never assess colour under a single overhead bulb.
- Avoid checking colour on a phone screen or monitor.
- Assess the nape and front hairline separately, as colour depth varies across different head zones.
4. Matching balayage, highlights, and rooted hair
Complex colour patterns require a more structured approach to choosing the right extension shade. Balayage, root smudges, and colour melts each have distinct transition points that a single extension shade cannot replicate.
Matching complex hair like balayage requires identifying root, highlight levels, and transition points, often using pre-blended shades or custom layering. Clients increasingly request effects like root smudges and colour melts, making simple single-shade matches obsolete for this type of hair.
- Balayage hair: Choose a darker base shade for the root area of the extension and a lighter shade for the mid-to-end section. Layer wefts so the lighter shade sits closer to the face.
- Highlighted hair: Select a blend of your natural base colour and your highlight tone. Fan both swatches together to check the combined effect reads naturally.
- Rooted hair: Match the extension primarily to your mid-lengths. The darker root will grow in naturally and the extension will follow the same visual pattern.
- Placement matters: For tape-in extensions, place lighter shades at the top layers where light hits. For weft or microlink extensions, alternate shades across rows to create depth.
| Hair type | Recommended approach | Shade count |
|---|---|---|
| Balayage | Layer dark base with lighter end shade | 2–3 shades |
| Highlighted | Blend base and highlight tones | 2 shades |
| Rooted | Match mid-lengths, allow root to grow naturally | 1–2 shades |
| Solid colour | Single shade matched to mid-lengths | 1 shade |
5. Practical tips for matching extension colour at home
You do not need a salon appointment to get a good colour match. With the right approach, you can assess shades accurately at home and order with confidence. The key is replicating the conditions professionals use, specifically natural light and physical samples.
- Order a colour sample set or swatch pack before committing to a full set of extensions. Many suppliers offer these, and they remove the guesswork entirely.
- Always check swatches outside or beside a large, unobstructed window. Overcast daylight is actually ideal because it gives even, neutral light without harsh shadows.
- Compare swatches to your ends, not your roots. Hold the swatch flat against the last few centimetres of your hair.
- Take photos in natural light only, and use them as a secondary reference, not your primary assessment tool.
- If your hair has multiple tones, note each one separately before ordering. Write down your base shade, your mid-length shade, and your end shade, then match each to the closest swatch.
- When in doubt, contact your supplier directly. Describing your hair’s tonal range gives a specialist enough information to recommend the right blend.
For more detailed guidance on blending extensions at home, a step-by-step approach makes the process far less daunting.
6. Assessing undertones for a truly natural finish
Undertone is the secondary colour that sits beneath your hair’s surface shade. It is the difference between a blonde that looks golden and one that looks ashy, or a brown that reads warm versus one that reads cool. Ignoring undertone is one of the fastest ways to end up with extensions that look obviously mismatched, even if the depth level is correct.
Warm undertones include golden, copper, honey, and caramel. Cool undertones include ash, platinum, and blue-based browns. Neutral undertones sit between the two and are the most forgiving to match. Hold a swatch against your mid-lengths and look at the colour cast it creates next to your natural hair. If it makes your hair look brassy, the swatch is too warm. If it looks dull or grey, it is too cool.
Pro Tip: If you colour your hair regularly, check whether your stylist uses a warm or cool toner. That toner determines your current undertone and should guide your extension choice.
7. Checking your match before and after styling
A colour match that looks right on dry, unstyled hair can shift once heat is applied. Blow-drying, curling, and straightening all affect how light reflects off the hair shaft, which changes how the colour reads. Testing your extensions after styling is a step most people skip, and it is the reason many matches that looked perfect in the packet look slightly off once worn.
Clip in your extensions and style your full head of hair together. Stand in natural light and assess the blend at the back, sides, and front. Ask someone else to check the back for you, as this is the zone most visible to others and the hardest to see yourself. If the blend looks off after styling, the issue is usually undertone rather than depth level. Swap to a shade with a warmer or cooler tone and retest before ordering a full set. For a full walkthrough on achieving a natural look, testing after styling is a non-negotiable step.
Key takeaways
Matching hair extension colour accurately requires assessing mid-lengths and ends in natural daylight, using physical swatches, and blending two or three shades to replicate natural hair’s tonal dimension.
| Point | Details |
|---|---|
| Match mid-lengths, not roots | Roots mislead; the visual blend zone sits at mid-lengths and ends where extensions are visible. |
| Use physical colour swatches | Physical colour rings in daylight achieve up to 95% blend success; screens and photos do not. |
| Blend two or three shades | Multi-tonal blending prevents flat, artificial results and replicates natural hair dimension. |
| Account for undertone | Warm and cool undertones must align between your natural hair and your extensions. |
| Test after styling | Heat changes how colour reflects; always assess the blend on fully styled hair in natural light. |
My honest view on getting colour matching right
The most common thing I see is people holding a swatch up to their roots and deciding that is close enough. It never is. Roots are almost always darker than the rest of the hair, and extensions sit alongside the mid-lengths and ends, not the scalp. Matching to the wrong zone is the reason so many people end up with a visible line where the extension begins.
The second mistake is ordering one shade and hoping for the best. Natural hair has tonal shifts built into it. A single flat shade will always look slightly off against hair that has depth and movement. Blending two shades takes an extra five minutes of planning and makes a significant difference to the final result.
Physical swatches are worth the effort of ordering. Assessing colour on a screen is genuinely unreliable. Screens have different colour profiles, brightness settings, and white balance, and none of them replicate what your eye sees in daylight. If you are serious about getting a match that no one notices, you need to hold the swatch against your actual hair in actual light.
Patience is the part nobody talks about. A good colour match takes a few rounds of testing. Order samples, test them, adjust, and test again. The process feels slow, but it is far faster than living with a mismatch for months.
— Sam
Naturylextensions: Remy hair extensions in shades built for blending
If you are ready to put these techniques into practice, Naturylextensions offers a range of Remy human hair extensions in multiple shades designed specifically for multi-tonal blending. Every extension is made from ethically sourced Remy hair, which means the cuticles run in the same direction and the colour reads naturally in daylight, exactly the condition you need for accurate matching.
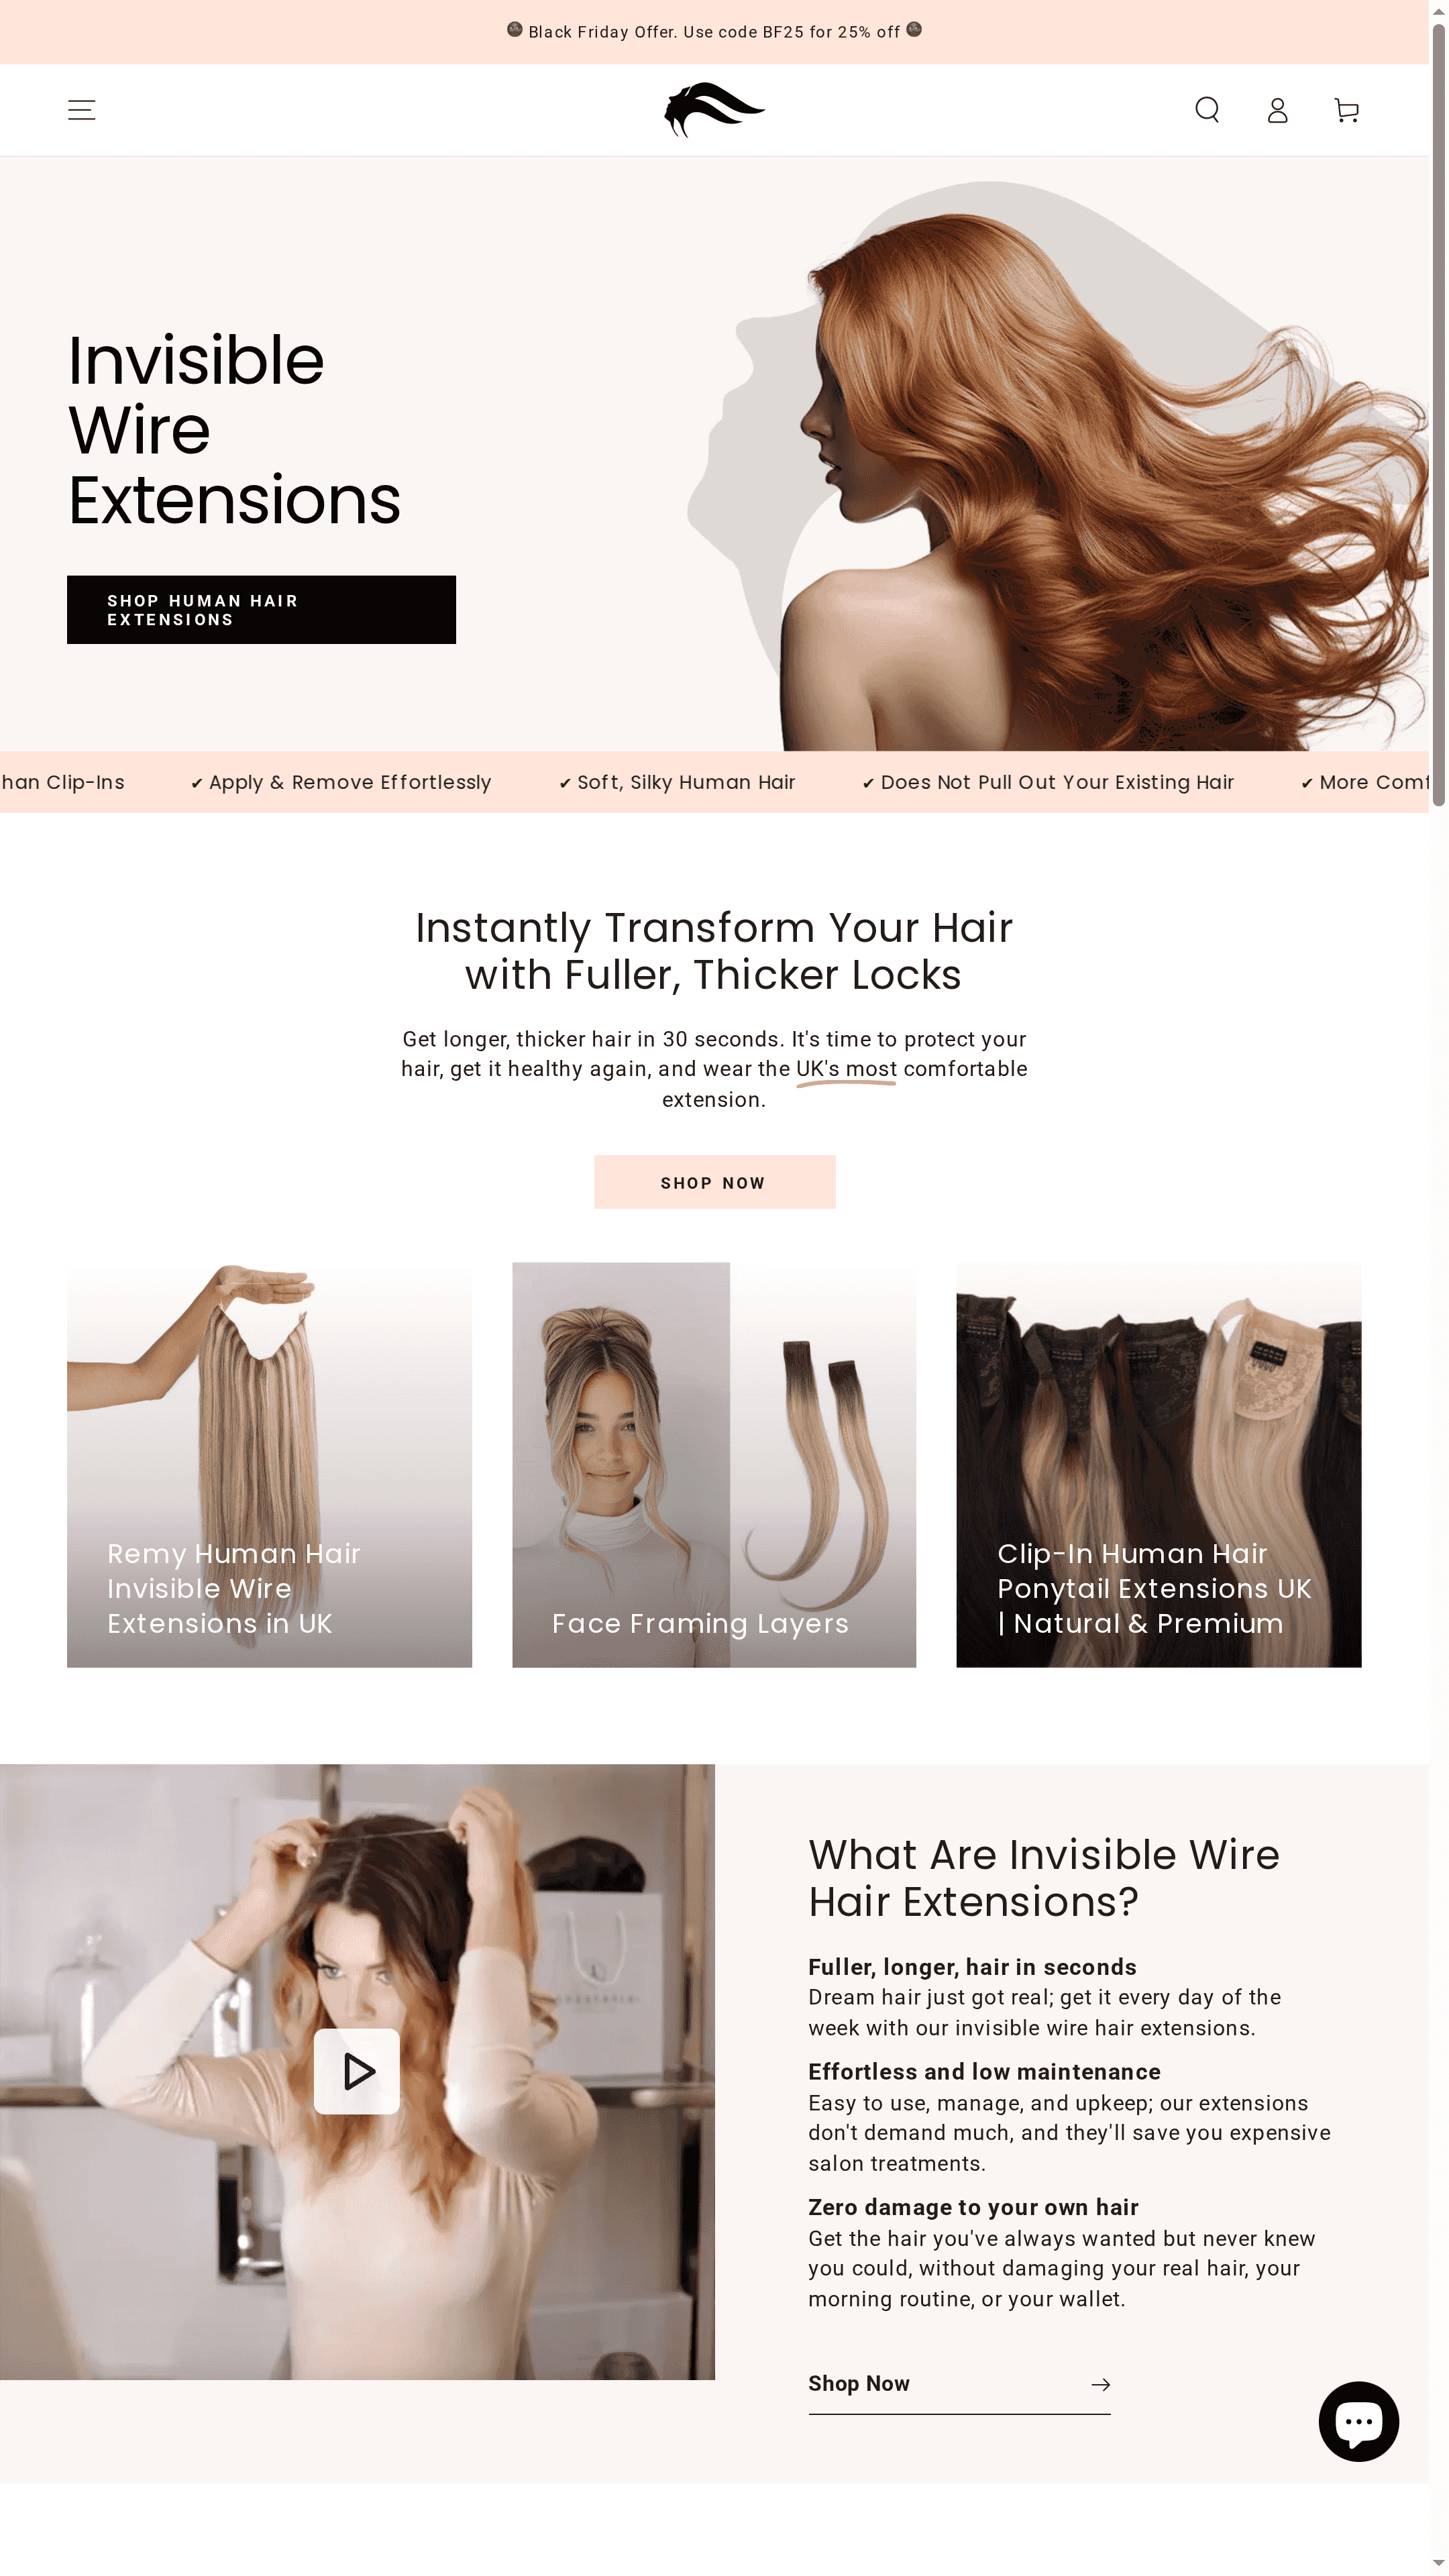
Naturylextensions ships fast across the UK and offers a free exchange policy, so if your first shade choice needs adjusting, you are not stuck with it. Whether you are after invisible wire extensions, ponytail extensions, or face-framing pieces, the shade range is built to support the blending techniques covered here.
FAQ
What is the best way to match extension colour?
The best approach is to match extensions to your mid-lengths and ends in natural daylight using physical colour swatches. Physical colour ring matching achieves up to a 95% undetectable blend success rate.
Should I match extensions to my roots or ends?
Always match to your ends and mid-lengths. Matching by roots is the most common beginner mistake and leads to visible extension lines.
How many shades do I need for a natural look?
Most people need two to three shades to replicate natural hair dimension. Using a single shade causes a 42% failure rate when matching dimensional or highlighted hair.
Can I match extension colour from a photo?
Photos and screens alter colour perception and are not reliable for accurate matching. Always use physical swatches assessed in natural daylight for the most accurate result.
How do I match extensions to balayage hair?
Choose a darker base shade and a lighter end shade, then layer them to replicate the balayage transition. Identifying your root level, mid-length tone, and highlight shade separately gives you the clearest guide for blending balayage extensions accurately.


