


TL;DR:
- Prepping natural hair for extensions entails cleansing, conditioning, detangling, and stretching to protect hair health and ensure a secure installation. Proper preparation prevents damage, extends style longevity, and requires products like clarifying shampoos, protein treatments, and careful tension management. Avoid common mistakes, assess your hair’s condition, and communicate effectively with your stylist to maintain scalp and hair integrity during wear.
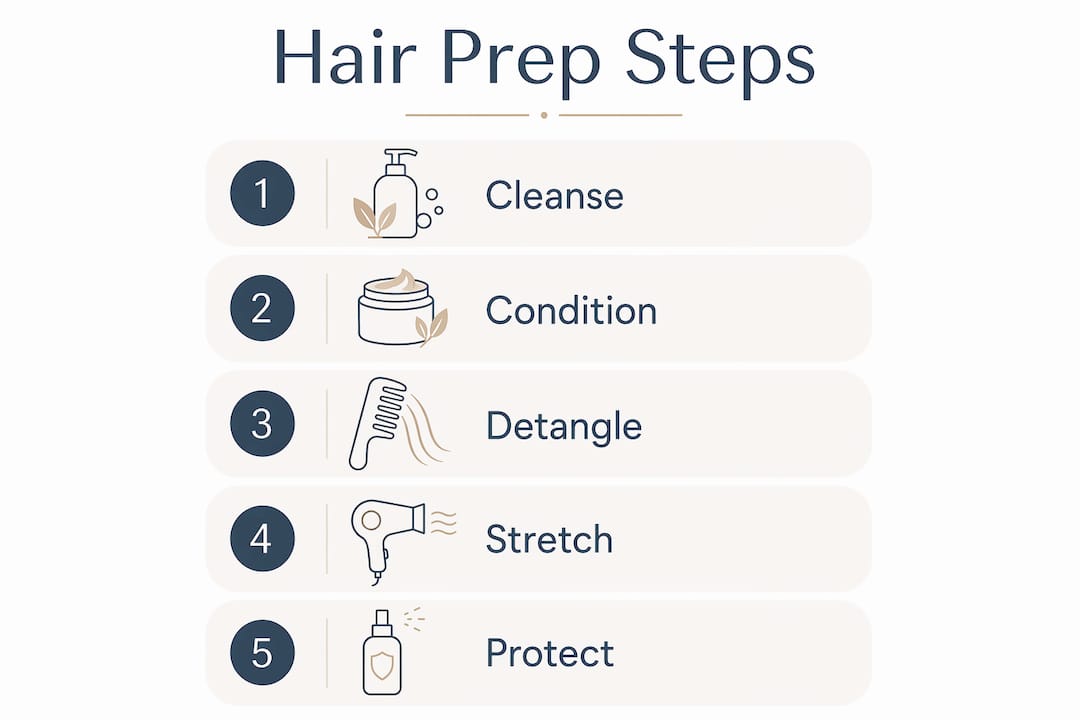
Prepping natural hair for extensions is defined as the process of cleansing, conditioning, detangling, and stretching your hair in the days before installation to protect its health and create a clean, secure base for any extension method. Done correctly, this preparation prevents breakage, reduces tension damage, and extends the life of your style. Skip it, and you risk everything from scalp irritation to traction alopecia. The key steps are clarifying, deep conditioning, detangling on damp hair, gentle stretching, and careful tension management. Products like sulfate-free clarifying shampoos, protein treatments, and wide-tooth combs are your core toolkit.
How to properly cleanse and clarify natural hair before extension installation
A clean scalp is the non-negotiable starting point for any extension install. Product residue at roots reduces bond strength for tape-ins and causes clips to slip, which means even the best extensions will underperform on a dirty base. The goal of your cleanse is to remove buildup without stripping your hair of the moisture it needs to tolerate weeks of wear.
Use a sulfate-free clarifying shampoo rather than a standard moisturising shampoo. Clarifying shampoo every 3 to 4 weeks removes product buildup effectively while preserving your hair’s natural moisture balance. Standard shampoos often leave a conditioning film that can interfere with extension adhesion, particularly for tape-in or micro-ring methods.
Here is what to focus on during your cleansing session:
- Wash your hair 24 to 48 hours before installation, not the morning of. This gives your scalp time to rebalance its natural oils and your hair time to dry fully without rushing.
- Use a gentle scalp massage during cleansing to enhance blood flow to the follicles. Healthy circulation supports follicle strength, which matters when your hair will be under tension for weeks.
- Shampoo twice if you have significant product buildup. The first wash breaks down residue; the second actually cleanses the scalp.
- Avoid applying heavy oils, thick butters, or silicone-based conditioners directly to your roots after washing. These create the same grip problem you were trying to solve.
- Follow with a lightweight, rinse-out conditioner on your mid-lengths and ends only, keeping the roots clean.
Pro Tip: If your hair is dry or fragile, begin a prep phase one to three weeks before your install date, with weekly moisturising treatments to strengthen your strands before they go under any tension.
How should you deep condition before getting extensions?
Deep conditioning is the step that determines how well your hair tolerates weeks of wear. Hair that goes into an install already dry or protein-deficient will break at the first sign of tension. Your conditioning session should happen 24 to 48 hours before installation, giving your hair time to absorb the treatment and settle before it is styled.
The choice between a protein treatment and a moisturising mask depends on your hair’s current condition. Protein fills gaps in the hair cuticle and reinforces the shaft before styles that last multiple weeks. However, excessive protein without adequate moisture causes brittleness, which is the opposite of what you want. If your hair feels hard, stiff, or snaps easily, it needs moisture first. If it stretches and does not spring back, it needs protein.
Consider these points when planning your conditioning routine:
- Protein treatments such as Aphogee Two-Step Protein Treatment or OGX Thick and Full Biotin and Collagen are suited to hair that feels weak, limp, or over-stretched.
- Moisturising masks such as Shea Moisture Manuka Honey and Mafura Oil Intensive Hydration Masque work best for hair that feels dry, brittle, or rough to the touch.
- Use a plastic cap or steam during your conditioning session. Heat opens the cuticle and allows the treatment to penetrate more deeply, which means better results in the same amount of time.
- After rinsing, apply a leave-in conditioner to your mid-lengths and ends. Products like Kinky Curly Knot Today or As I Am Leave-In Conditioner work well for textured hair. Keep the roots clean.
- Seal your ends with a lightweight oil such as argan or jojoba. Avoid heavy butters near the root area.
Understanding your hair porosity and texture is what allows you to tailor this step correctly. High-porosity hair absorbs moisture quickly but loses it just as fast, so it benefits from a protein treatment followed by a rich moisturising mask. Low-porosity hair resists absorption, so steam or heat during conditioning is particularly important.
Pro Tip: Do not deep condition the night before and then sleep with product-heavy hair loose. Plait or twist your hair after conditioning to keep it stretched, moisturised, and ready for the next prep step.
What are the best methods for detangling and stretching natural hair?
Detangling is where most preparation goes wrong. Detangling dry hair causes significant breakage and is one of the most common reasons natural hair is damaged before an install even begins. The rule is simple: always detangle on damp, conditioned hair, never on dry hair.
Follow these steps in order:
- Section your hair into four to six parts using clips. Working in sections prevents re-tangling and makes the process manageable.
- Apply a slip product to each section before you begin. A rinse-out conditioner, detangling spray, or leave-in conditioner all work. The slip reduces friction and allows knots to release without force.
- Use your fingers first. Work from the ends upward, gently separating knots with your fingertips before introducing any tool.
- Follow with a wide-tooth comb, again working from ends to roots. Never drag a comb from root to tip on textured hair.
- Move to a detangling brush such as a Denman brush or a Felicia Leatherwood Detangler Brush for finer separation if needed.
For highly textured hair, proper detangling takes 30 to 45 minutes. That time investment protects your hair. Rushing this step is what leads to unnecessary shedding and weak sections that struggle under extension tension. You can find more guidance on safe detangling methods that minimise breakage for textured hair types.
Once detangled, stretching your hair creates a smoother, more manageable base for your stylist. Banding is the gentlest method: divide your hair into sections and use soft hair bands placed at intervals down each section to elongate the curl without heat. Low-heat blow-drying with a comb attachment on a cool or warm setting is also effective, but avoid high heat, which compromises curl integrity and weakens the shaft over time.

Pro Tip: Avoid applying products near your roots during the stretching stage. Heat protectants and styling products applied only to mid-lengths and ends preserve grip at the roots and help extensions sit securely.
How to protect your edges and manage tension during installation
Tension management is the most critical aspect of natural hair extension prep, and it is the area most often overlooked. Tight braid bases increase the risk of traction alopecia, a form of gradual hair loss caused by repeated pulling at the follicle. Redness, pain, or small bumps along the hairline after installation are warning signs that the tension is too high.
“A braid base should be secure enough to hold extensions but never so tight as to cause pain or red bumps. Damage to hair follicles at this stage can result in permanent hair loss.” Source: Prep and takedown for wigs and weaves
Protecting your edges requires both preparation and clear communication. Communicating with your stylist about your tension preferences before the install begins is one of the most effective ways to prevent hairline damage. If you are doing a DIY install, the same principle applies: if it hurts, it is too tight.
Practical strategies for edge protection include:
- Leave your edges out where possible, particularly with sew-in styles. Braiding the hairline tightly is one of the leading causes of traction alopecia.
- Use a lightweight scalp oil such as tea tree oil diluted in jojoba before your install. This nourishes the scalp without creating the product buildup that compromises grip.
- Rest your hairline between installs. Give your edges at least two to four weeks without any tension before your next appointment.
- Check your scalp weekly during wear. If you notice persistent tenderness, flaking, or thinning at the hairline, remove the extensions and allow your hair to recover before reinstalling.
Common mistakes to avoid when preparing hair for extensions
Even with the best intentions, preparation errors are common. Knowing what to avoid saves you from undoing your own hard work.
- Washing too close to the install date. Washing the morning of your appointment leaves hair damp and harder to braid or section cleanly. Aim for 24 to 48 hours before.
- Leaving heavy product buildup at the roots. Heavy butters and oils at the root compromise extension hold and can cause irritation under a tight braid base.
- Detangling dry hair. This is the single fastest way to cause breakage before your install. Always detangle on damp, conditioned hair.
- Over-tightening braid bases. If your scalp is already irritated or showing signs of damage, reschedule your appointment and allow your hair to recover fully.
- Skipping protein treatment on weak hair. Hair that goes into an install already compromised will not improve under tension. Address brittleness or over-softness before you book.
Pro Tip: If your hair feels overly soft or mushy after conditioning, it needs a light protein treatment before your install. If it feels stiff and snaps, it needs a deep moisture treatment. Never install extensions on hair that is already in a compromised state.
Key takeaways
Prepping natural hair for extensions requires cleansing, conditioning, detangling, and tension management in the correct sequence and with the right products to protect hair health and achieve a lasting install.
| Point | Details |
|---|---|
| Timing your wash correctly | Cleanse and deep condition 24 to 48 hours before installation, not the morning of. |
| Protein and moisture balance | Assess your hair’s condition and choose between a protein treatment or moisturising mask accordingly. |
| Detangle on damp, conditioned hair | Always work from ends to roots in sections; never detangle dry hair. |
| Protect your edges | Keep tension firm but comfortable and leave edges out where possible to prevent traction alopecia. |
| Avoid product buildup at roots | Apply leave-ins and oils to mid-lengths and ends only to preserve extension grip and scalp health. |
What I have learned from years of watching hair prep go wrong
I have seen more extension installs than I can count, and the pattern is always the same. The women who arrive with the healthiest results are not the ones who spent the most money on products. They are the ones who prepared consistently and honestly assessed their hair’s condition before booking.
The biggest misconception I come across is that extensions will fix dry or damaged hair. They will not. Extensions installed on compromised hair accelerate the damage. What you put in is what you get out, and that starts weeks before your appointment, not the night before.
The second thing I would tell anyone is to advocate for yourself with your stylist. If the braids feel tight during installation, say so immediately. Discomfort is not normal, and it is not something to push through. Minimising tension is the single most important factor in long-term hair health under extensions, and no style is worth sacrificing your edges.
Finally, caring for your natural hair while wearing extensions is just as important as the prep itself. Moisture does not stop being a priority once the extensions are in. Keep your scalp clean, your ends sealed, and your protein-moisture balance in check throughout the wear period.
— Sam
Explore Naturylextensions for your next extension install

Once your natural hair is properly prepped, the right extensions make all the difference. Naturylextensions specialises in premium Remy human hair extensions, including invisible wire extensions, ponytail extensions, and face-framing styles designed to sit naturally and comfortably on your hair without causing tension or damage. Every product uses ethically sourced Remy hair, meaning the cuticles are aligned for a smoother, tangle-resistant finish that works with your natural texture rather than against it. If you want added length without commitment, the invisible extension wires offer a quick, damage-free option with fast UK delivery and a free exchange policy. Browse the full range and find the style that suits your prep.
FAQ
How long before an extension install should I wash my hair?
Wash and deep condition your hair 24 to 48 hours before your installation appointment. This gives your scalp time to rebalance and your hair time to dry fully before styling.
Can I use a regular shampoo before getting extensions?
A sulfate-free clarifying shampoo is the better choice. Regular moisturising shampoos often leave a conditioning film at the roots that can reduce extension grip, particularly for tape-in or clip-in methods.
How do I know if my braid base is too tight?
Redness, pain, or small bumps along the hairline after installation indicate excessive tension. A braid base should feel secure but never painful. If it hurts, ask your stylist to loosen it immediately.
Should I do a protein treatment before getting extensions?
Yes, if your hair feels weak, limp, or over-stretched. Protein treatments reinforce the hair shaft before styles that last multiple weeks. Balance any protein treatment with a moisturising conditioner to avoid brittleness.
What products should I avoid at my roots before an extension install?
Avoid heavy butters, thick oils, and silicone-based products at the roots. These create buildup that reduces extension hold and can cause scalp irritation under a braid base. Apply leave-ins and sealants to mid-lengths and ends only.


