TL;DR:
- Proper blow drying protects hair extensions and maintains their natural appearance.
- Using the right tools and techniques, along with consistent heat protection, extends extension lifespan.
Blow drying hair extensions correctly is the single most important styling skill you can develop to protect your investment and achieve a natural finish. Unlike your own hair, Remy human hair extensions receive no natural scalp oils, which means heat and friction cause damage far more quickly. The industry standard heat cap for all heat tools is 180°C, with blow dryers ideally set to medium heat between 40°C and 80°C. Get the technique right and your extensions stay soft, blended, and salon-quality. Get it wrong and you risk matting, bond failure, and brittle ends that no product can fix.
What tools and products do you need for blow drying hair extensions?
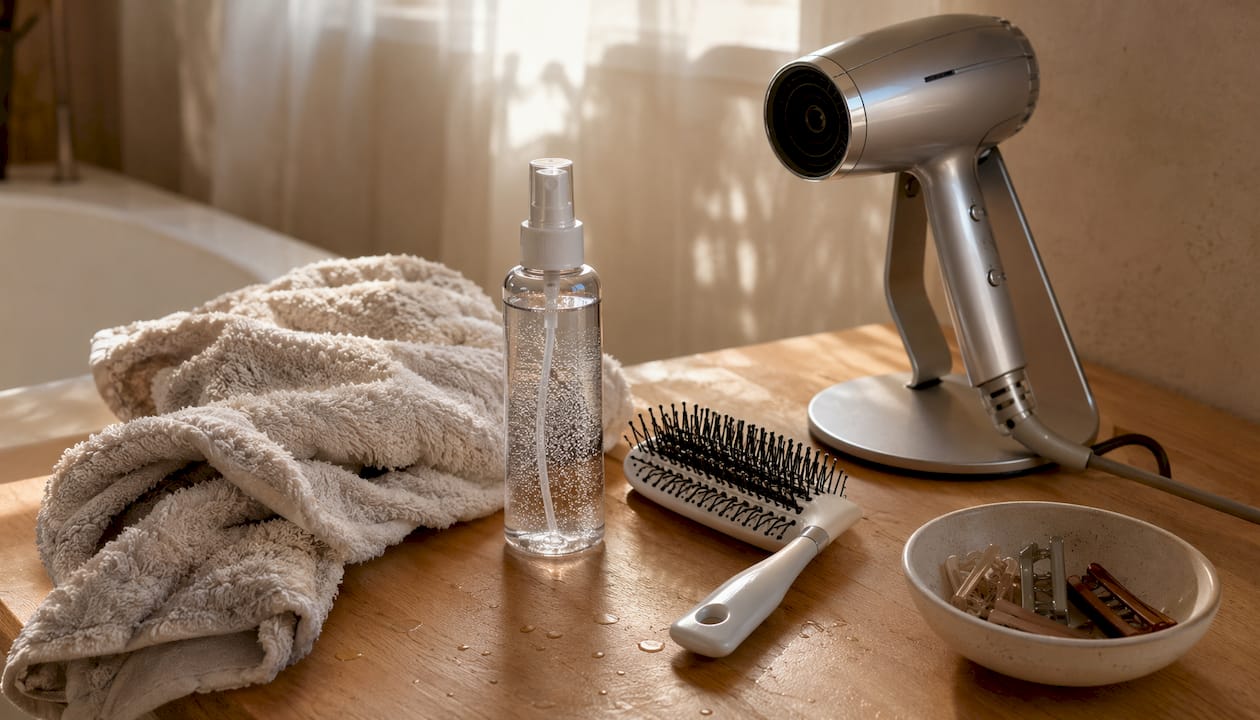
The right tools make the difference between extensions that last months and extensions that deteriorate within weeks. You need a blow dryer with adjustable heat settings, a round brush, a microfibre towel, and brushes designed specifically for extensions.
Recommended tools at a glance:
- Blow dryer with multiple heat settings: Choose one that reaches medium heat (40°C to 80°C) and has a cool shot button. Avoid dryers with no temperature control.
- Round brush: A medium-sized round brush gives volume and smoothness without pulling at bonds or wefts.
- Microfibre towel: Standard cotton towels create friction that roughens the hair cuticle. A microfibre towel absorbs water gently and reduces frizz before you even switch the dryer on.
- Loop brush or soft-bristle wet brush: Loop brushes prevent pulling and breakage by flexing around bonds rather than snagging them. Start brushing from the ends upward, holding the bonds steady with your other hand.
- Extension-specific detangling brush: These have widely spaced, flexible bristles that glide through extensions without stressing the attachment points.
Products that protect extensions during heat styling:
- Alcohol-free heat protectant spray: Skipping heat protection is the most common mistake that causes brittleness and dryness. Extensions have no natural moisture source, so a thermal protectant is non-negotiable before any heat is applied.
- Sulphate-free shampoo and lightweight conditioner: Sulphate-free formulas protect adhesive bonds and extend the life of your extensions. Avoid products with heavy oils or alcohol near the bonds.
- Leave-in conditioner (lightweight): Apply sparingly to mid-lengths and ends only. Heavy products near bonds weaken adhesive over time.
| Tool or product | Primary benefit |
|---|---|
| Microfibre towel | Reduces friction and pre-drying frizz |
| Alcohol-free heat protectant | Shields hair from heat damage above 40°C |
| Loop or soft-bristle brush | Prevents pulling and bond stress |
| Round brush | Adds volume and smoothness during blow drying |
| Sulphate-free shampoo | Preserves bond adhesive and hair quality |
Pro Tip: Buy a brush specifically labelled for extensions or wigs. Standard paddle brushes with ball-tipped bristles catch on micro-ring and keratin bonds and can pull them loose over time.
How to blow dry hair extensions step by step
A consistent blowdrying extensions workflow protects your bonds, prevents matting, and produces a finish that blends naturally with your own hair. Follow these steps every time you wash and dry your extensions.
-
Gently blot with a microfibre towel. After washing, press the towel against your hair rather than rubbing. Rubbing roughens the cuticle and creates tangles that are harder to remove once you start drying.
-
Detangle before applying any heat. Use your loop brush or soft-bristle brush to work through any knots, starting from the ends and moving upward. Hold the bonds or wefts steady with your free hand to avoid pulling at the attachment points.
-
Apply heat protectant to mid-lengths and ends. Spray evenly from about 15cm away. Avoid spraying directly onto bonds or the root area, as product build-up near adhesive weakens the bond over time. This step is not optional. Heat protection is essential because extensions lack the natural oils that give your own hair some resistance to heat.
-
Dry the roots and bonds first on medium heat. Set your dryer to medium heat (40°C to 80°C). Direct airflow at the root area and bonds first. Wet roots under semi-permanent extensions lead to tangling, matting, and bond deterioration that often requires professional repair. Getting this area dry is the priority.
-
Work in horizontal sections from the nape upward. Clip the top layers away and start at the nape of your neck. Drying in horizontal sections from the nape up gives you control over each layer and prevents the upper sections from drying over wet lower ones, which causes frizz and uneven texture.
-
Use the cool shot on each section before releasing it. Once a section is dry, press the cool shot button and hold it on that section for 5–10 seconds. Cool air at 15°C to 20°C seals the cuticle, locks in the shape, and reduces frizz. This single step produces a noticeably smoother, more natural result.
-
Finish with gentle brushing. Once all sections are dry, use your extension-safe brush to blend your natural hair with the extensions. Brush from ends to roots in slow, controlled strokes.
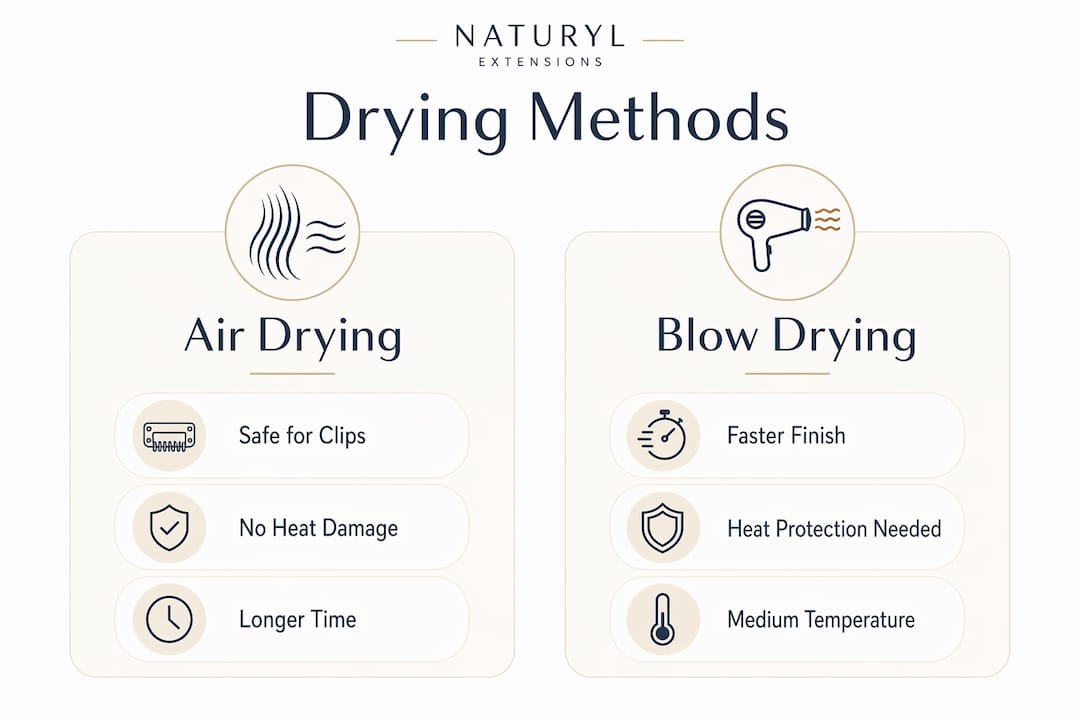
Pro Tip: Blow drying takes 15–30 minutes, compared to 8–12 hours for air drying. If you are short on time, prioritise drying the root and bond area completely, then allow the lengths to finish air drying. Leaving bonds wet is the risk. Leaving ends slightly damp is not.
What blow drying mistakes damage extensions most?
Most extension damage is avoidable. The errors below are the most common, and each one shortens the life of your extensions significantly.
- Exceeding 180°C on any heat tool. Heat tools must not exceed 180°C to prevent damage to extensions. High heat melts keratin-based adhesive bonds, weakens micro-ring attachments, and dries out the hair shaft permanently. Always check your dryer’s temperature setting before you start.
- Leaving roots and bonds wet. Wet roots under extensions cause premature slipping and matting that requires professional intervention. Damp bonds are the leading cause of early extension failure.
- Rubbing hair with a standard towel. Rough towel-drying creates friction along the cuticle, leading to frizz and tangling before you have even picked up the dryer. A microfibre towel removes this risk entirely.
- Brushing from root to tip. Pulling a brush from the root downward drags it through tangles and puts direct stress on bonds. Always start from the ends and work upward.
- Skipping heat protectant. Extensions have no natural oil production. Without a thermal protectant, repeated heat exposure makes them brittle and dry within weeks. For more on avoiding extension mistakes, the principle is always the same: protect before you style.
Applying heat above 180°C to keratin or adhesive bonds does not just damage the hair fibre. It can dissolve the bond itself, causing extensions to slip or fall out entirely. Once heat damage occurs in Remy human hair, it cannot be reversed. Prevention through correct temperature settings and consistent heat protection is the only reliable approach.
Air drying vs blow drying: which is right for your extensions?
The best drying method depends on your extension type. Understanding the difference protects your extensions and saves you time.
Clip-in extensions are safest with air drying because there are no scalp bonds at risk of moisture damage. Lay them flat on a clean towel or hang them on an extension hanger for even airflow. Air drying preserves softness and avoids any heat exposure entirely. The trade-off is time: air drying takes 8–12 hours, so it works best overnight or on a rest day.
Semi-permanent extensions, including micro-ring, nano-ring, and keratin bond types, require blow drying after every wash. The root and bond area must be dried thoroughly each time. Leaving these wet is the primary cause of matting and bond failure. For a full washing extensions guide that covers pre-drying preparation, the principle is consistent: never leave bonds damp.
Quick tips for reducing heat exposure while still drying effectively:
- Blot thoroughly with a microfibre towel before using the dryer. The drier your hair is before you start, the less time the dryer needs to run.
- Use the dryer only on the root and bond area, then allow the lengths to air dry naturally.
- Set the dryer to the lowest effective heat setting. Medium heat is sufficient for most extension types.
- Hang clip-in extensions on a dedicated extension hanger rather than laying them bunched together, which traps moisture and causes tangling.
Pro Tip: If you wear invisible wire extensions, you can remove them before washing your natural hair and air dry the extensions separately. This completely eliminates heat exposure for the extensions while still allowing you to style your natural hair as normal.
Key takeaways
Blow drying hair extensions safely requires the right tools, a consistent sectioning technique, and heat protection applied every single time without exception.
| Point | Details |
|---|---|
| Heat cap is 180°C | Never exceed 180°C on any heat tool to protect bonds and hair fibres. |
| Dry roots and bonds first | Wet bonds cause matting and slipping; prioritise the root area on medium heat. |
| Section from nape upward | Work in horizontal sections and finish each with a cool shot to seal the cuticle. |
| Heat protectant is non-negotiable | Extensions have no natural oils; always apply an alcohol-free protectant before heat. |
| Match drying method to extension type | Air dry clip-ins; blow dry semi-permanent extensions after every wash. |
What I have learned from years of styling extensions
The single most overlooked step in any blow drying routine is the cool shot. Most people rush past it, but it is the step that separates a style that lasts 24 hours from one that drops flat by lunchtime. When you seal each section with cool air immediately after drying it, you are locking the cuticle closed. The result is smoother, shinier hair that holds its shape far longer.
The second thing I have noticed is that patience during sectioning pays off more than any product. When you rush and try to dry everything at once, the lower layers stay damp under the upper ones. That trapped moisture is exactly what causes the matting and frizz that people blame on their extensions, when the real cause is technique. Taking an extra five minutes to clip and dry in proper horizontal sections from the nape upward produces a result that looks genuinely natural.
My honest advice: invest in a good microfibre towel and a loop brush before you spend money on premium styling products. The mechanical steps, blotting gently, brushing from ends upward, sectioning properly, and using the cool shot, do more for your extensions than any serum. Products support good technique. They cannot replace it. For anyone wanting to go further, learning how to detangle extensions without damage is the natural next step after mastering the drying workflow.
— Sam
Premium Remy hair extensions built for everyday styling
If you want extensions that respond well to blow drying and hold their style between washes, the quality of the hair itself matters as much as your technique.
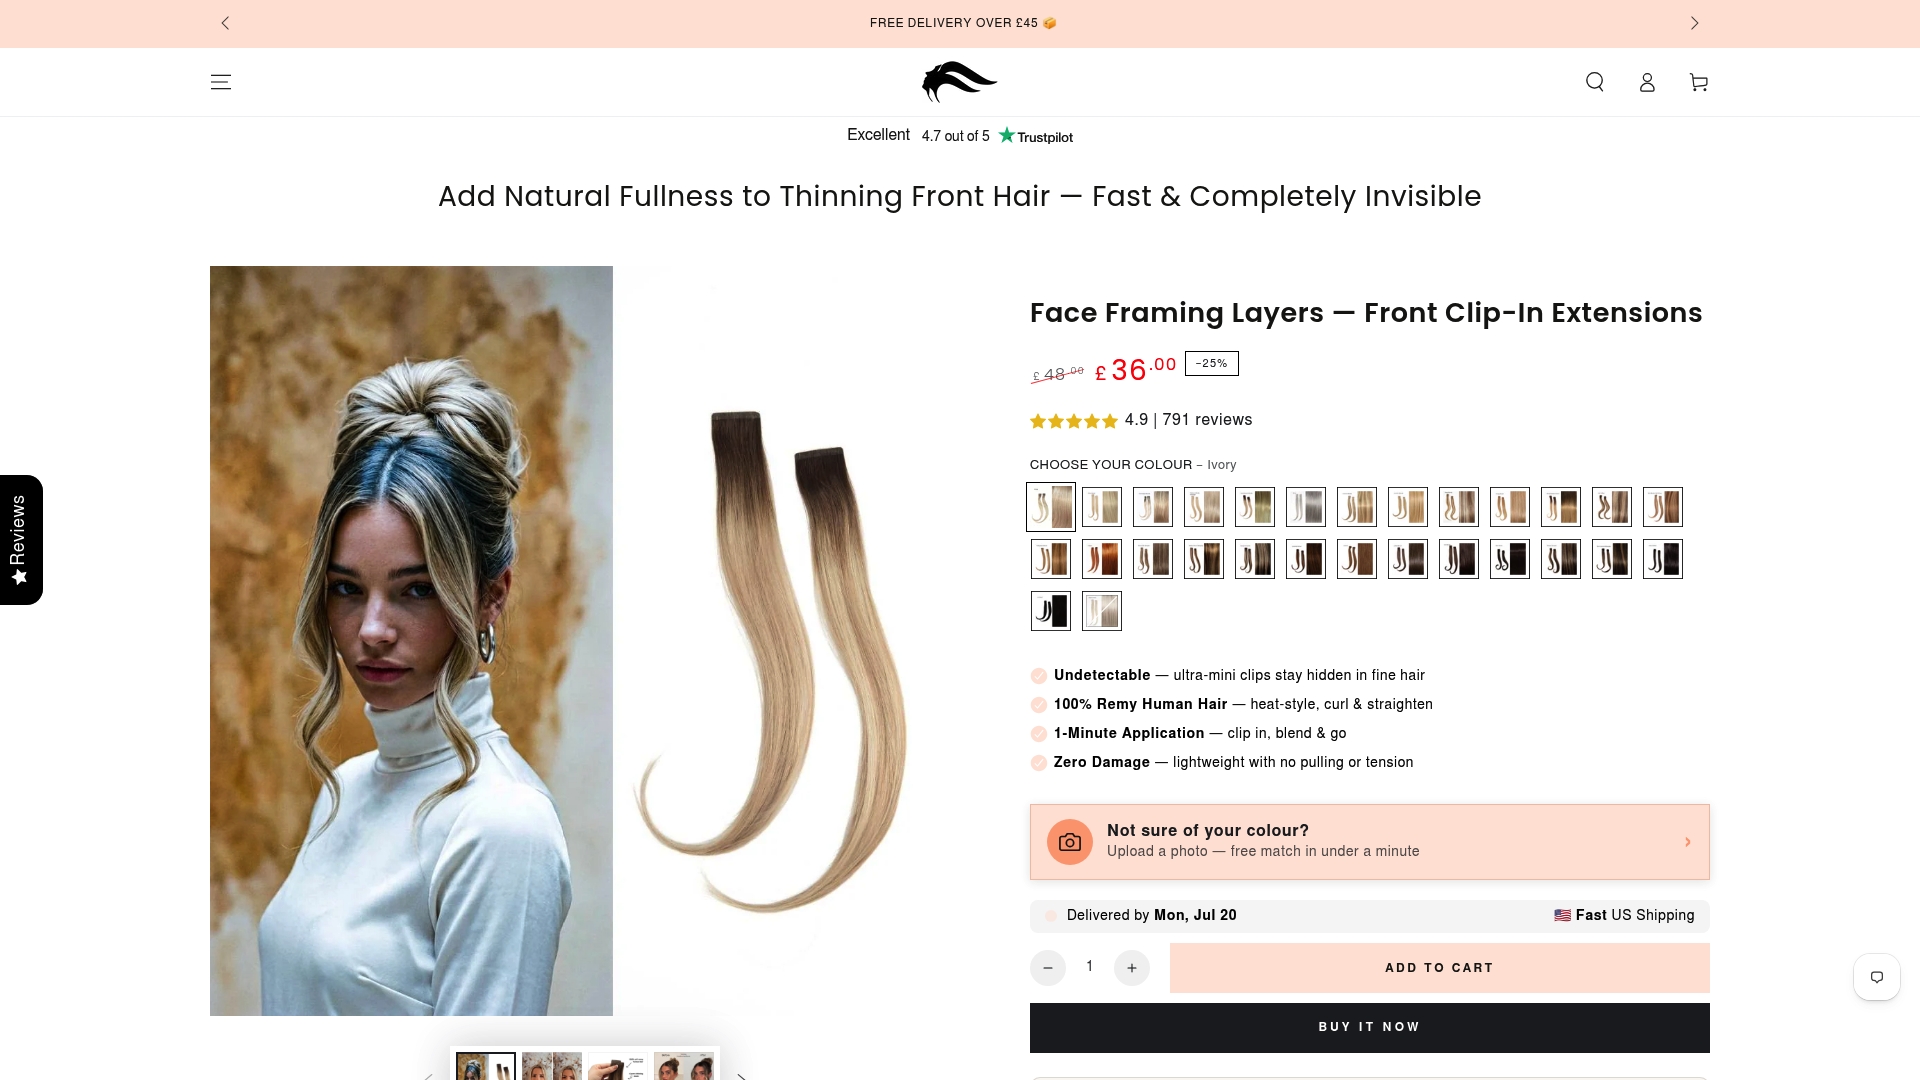
Naturylextensions specialises in premium UK Remy human hair invisible wire extensions, designed to blend naturally with your own hair and withstand regular heat styling when cared for correctly. Because the cuticles run in the same direction throughout, the hair behaves like your own: it takes heat evenly, dries smoothly, and stays tangle-free with the right routine. Naturylextensions also offers a free exchange policy and fast UK delivery, so finding your perfect match is straightforward. Browse the full range of invisible wire extensions and find the style and shade that works for you.
FAQ
What temperature should I use to blow dry hair extensions?
Set your blow dryer to medium heat, between 40°C and 80°C. Heat tools must not exceed 180°C to avoid damaging bonds or the hair fibre.
Do I need heat protectant on hair extensions?
Yes, every time. Extensions produce no natural oils, so skipping heat protection causes brittleness and dryness that cannot be reversed. Use an alcohol-free thermal protectant spray on mid-lengths and ends before applying any heat.
Can I air dry hair extensions instead of blow drying?
Clip-in extensions are safest air dried flat or hung for even airflow. Semi-permanent extensions must be blow dried after washing because leaving bonds wet causes matting and premature slipping.
Why do my extensions feel frizzy after blow drying?
Frizz after blow drying is usually caused by skipping the cool shot, rubbing with a standard towel, or drying all sections at once without separating them. Use a microfibre towel, work in horizontal sections from the nape upward, and finish each section with cool air to seal the cuticle.
How long does it take to blow dry hair extensions?
Blow drying takes 15–30 minutes with the correct technique. Air drying takes 8–12 hours. Prioritise drying the root and bond area first, as this is where moisture causes the most damage.