


Most British beauty lovers want hair extensions that look and feel just like their own. Yet over 60 percent struggle to get a seamless blend with clip ins at home. No one wants bulky results or visible clips ruining a flawless finish. This guide lays out the easy, step by step methods British women use to prep, apply, and blend extensions so they stay put through daily life and look effortlessly natural.
Table of Contents
Quick Summary
| Essential Insight | Detailed Explanation |
| 1. Prepare Hair Before Applying Extensions | Wash hair with clarifying shampoo and avoid heavy conditioners to create a solid base for extensions. |
| 2. Section Hair Strategically | Divide hair into clean, even sections to facilitate optimal weight distribution and seamless integration of extensions. |
| 3. Use Gentle Clipping Techniques | Attach extensions without pulling too tightly to prevent damage, ensuring clips are placed comfortably near the roots. |
| 4. Blend Extensions with Natural Hair | Style both natural hair and extensions together for a cohesive look, using heat tools for uniform texture. |
| 5. Check Stability After Application | Test the security of extensions by moving your head side to side; ensure they feel snug and free of discomfort. |
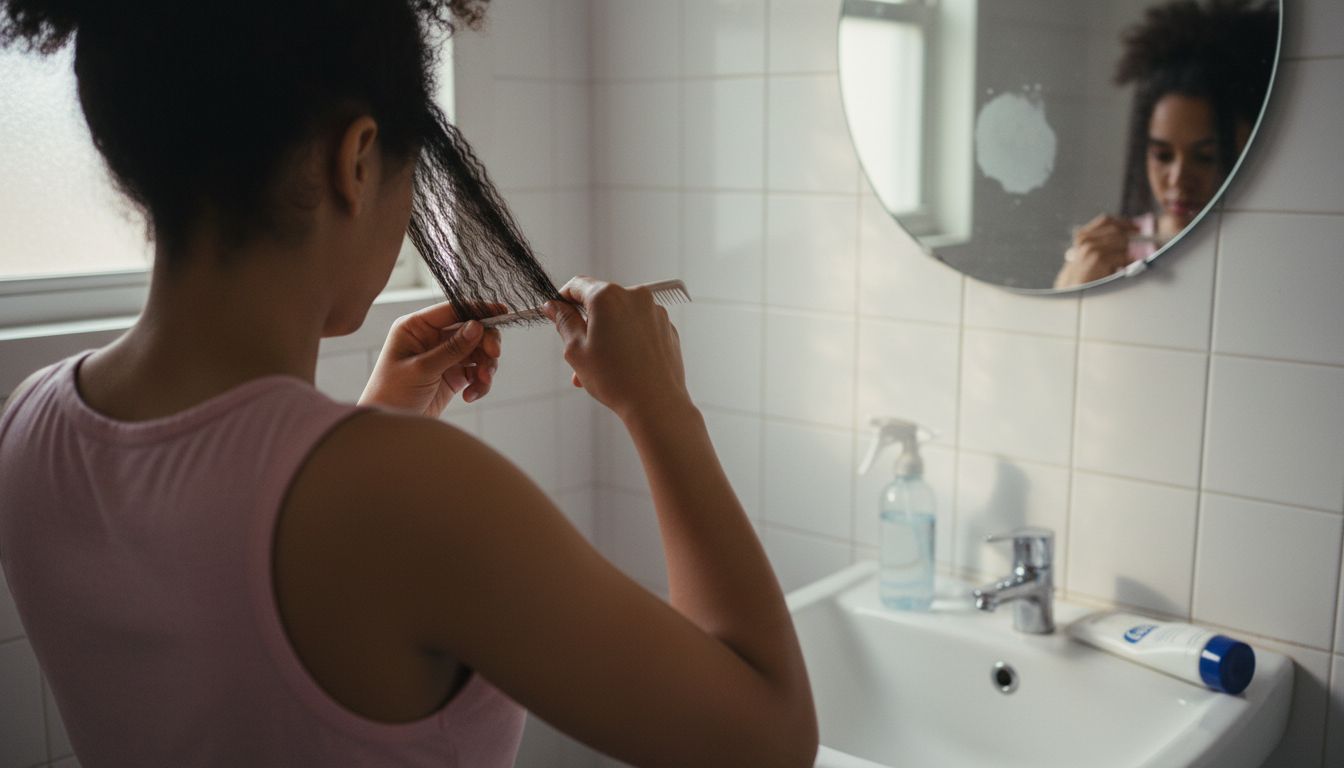
Stage 1: Prepare Your Natural Hair for Extension Application
Clipping in hair extensions begins with proper hair preparation to ensure a seamless, natural look. Your goal is creating an optimal foundation that allows extensions to blend flawlessly with your natural hair texture and style.
Start by thoroughly washing your hair with a clarifying shampoo to remove any product buildup, dirt, or oils that might prevent secure attachment. For those with fine or thin hair seeking volume, focusing on clean roots is particularly crucial. Avoid using heavy conditioning treatments before application, as these can create slippery surfaces that compromise extension grip.
After washing, gently towel dry your hair until it is slightly damp. Apply a lightweight heat protectant and blow dry your hair completely straight using medium heat and a round brush. This creates a smooth canvas that helps extensions blend more naturally. Section your hair horizontally from ear to ear, creating a clean separation between the lower and upper portions of your hair. The lower section will serve as the base for strategically placing your extensions, ensuring maximum coverage and a realistic appearance.
Stage 2: Section and Position Extensions Strategically
Precise extension placement is key to achieving a natural, voluminous look that seamlessly integrates with your hair. Your goal is to create strategic sections that distribute weight evenly and ensure maximum coverage and blending.
Begin by creating clean and even sections that accommodate your chosen extension attachment system. Start at the nape of your neck, creating a horizontal section approximately 2 cm deep. Measure the weft length slightly shorter than the section to avoid bulkiness and ensure a natural blend.
Work methodically, moving upwards in horizontal sections about 1 inch thick. Each section should be combed smooth and flat before clipping in extensions. For those using Face Framing Layers Clip In Extensions, pay special attention to positioning around the face to create soft, natural-looking layers. Leave enough space between each weft to prevent visible bumps or unnatural stacking. Pro tip: Use hair clips to temporarily secure sections and help visualise your extension placement before final attachment.
Stage 3: Secure Extensions with Gentle Clipping Techniques
Clipping in hair extensions requires precision and care to ensure a comfortable, natural looking result. Your goal is to attach each weft securely without causing strain or discomfort to your natural hair.
To apply clip in extensions, start by opening the clips gently by pushing the center until they click open. When attaching the wefts, position them close to the roots but not directly against the scalp. Each clip should be opened fully before placement, then pressed firmly to secure. For maximum comfort with Face Framing Layers Clip In Extensions, aim to distribute the weight evenly across multiple small sections rather than concentrating clips in one dense area.
Work systematically from the bottom sections upwards, ensuring each clip grips a small amount of your natural hair for stability. Avoid pulling the clips too tightly, which can cause tension and potential damage. After clipping, gently run your fingers through the extensions to blend them seamlessly with your natural hair, checking that no clips are visible and the overall appearance looks soft and natural.
Stage 4: Blend Extensions with Your Own Hair Seamlessly
Blending your clip in extensions seamlessly is the final artistry that transforms your look from merely added hair to a natural flowing style. Your goal is creating an undetectable transition between your natural hair and the face framing extensions.
Start by using a straightening iron or curling wand to create consistent texture across both your natural hair and extensions. Work in small sections, ensuring that the heat styling creates uniform waves or straightness that merge the two hair types together. For those using Face Framing Layers Clip In Extensions, pay special attention to softening the edges around your face to create a seamless, natural frame.
Once styled, gently backcomb the roots near the extension clips to provide additional grip and create a more natural volume transition. Use a soft bristle brush to lightly blend the extension edges with your natural hair, ensuring no harsh lines or visible demarcation between your original hair and the added extensions. A light mist of flexible hold hairspray will help set the look while maintaining movement and preventing any stiffness.
Stage 5: Check Stability and Adjust for a Natural Finish
Final adjustments are crucial to achieving a professional looking extension style that feels secure and looks completely natural. Your goal is to perform a comprehensive check that ensures your extensions are perfectly positioned and comfortable.
Begin by gently moving your head from side to side to test the stability of your clip ins. Each extension should feel snug but not tight, with no pulling or discomfort. When maintaining hair extensions, remember that proper care extends their longevity and appearance. For those using Face Framing Layers Clip In Extensions, pay extra attention to the front sections to ensure they frame your face perfectly without any visible clips or unnatural edges.
Use a handheld mirror to inspect the back of your head, checking for any visible clips or uneven sections. Carefully adjust any wefts that seem slightly off kilter, using your fingers to smooth and reposition them. A final light misting of flexible hairspray will help set the extensions and create a more natural, lived in look that moves and falls just like your own hair.
Achieve Seamless Natural Hair with Easy Clip In Extensions
Struggling to get your clip in extensions to look effortless and natural can be frustrating. From preparing your hair and positioning extensions to blending and securing them comfortably, every step matters. The article highlights how careful sectioning, gentle clipping, and expert blending create that flawless, undetectable finish you desire. If you want to avoid tension, visible clips and uneven weight distribution, choosing the right extensions designed for ease and natural appearance is essential.
Discover your perfect match with Naturyl Extensions, where we specialise in high-quality, ethically sourced human hair extensions that prioritise comfort and quick transformation. Whether you need Face Framing Layers Clip In Extensions or other easy-to-apply styles, our range helps you achieve fuller, longer hair without damaging your natural strands. Benefit from fast UK delivery and free exchanges when you transform your look today. Visit Naturyl Extensions now to get started with effortless, natural hair enhancement.
Frequently Asked Questions
How do I prepare my natural hair before clipping in extensions?
To prepare your natural hair, wash it thoroughly with a clarifying shampoo, ensuring all product buildup is removed. Then, towel dry your hair until it is slightly damp, apply a lightweight heat protectant, and blow-dry your hair straight to create a smooth canvas for the extensions.
What is the best way to section my hair for clipping in extensions?
Begin by creating clean, even sections starting from the nape of your neck and moving upwards. Each section should be approximately 2 centimetres deep, and use hair clips to secure the sections for a more organised approach during placement.
How do I securely attach clip-in extensions without causing discomfort?
Open the clips completely and position them close to the roots of your natural hair without pressing against your scalp. Ensure each clip grips only a small amount of hair for stability, and avoid pulling too tightly to prevent any tension or discomfort.
What techniques help in blending clip-in extensions with my natural hair?
Use a straightening iron or curling wand on both your natural hair and extensions to create consistent texture. Additionally, backcomb the roots near the clips lightly to blend the extensions seamlessly, ensuring no visible demarcations between the two.
How can I check the stability of my clipped-in extensions?
Gently move your head from side to side to see if the extensions feel secure but not tight. If any clips or wefts seem misplaced, adjust them accordingly to ensure a comfortable fit and natural look.
What should I do for a final touch to set my hairstyle with extensions?
After styling, use a light mist of flexible hold hairspray to set the look while maintaining movement. This will help ensure your style appears natural and flows beautifully like your own hair.


